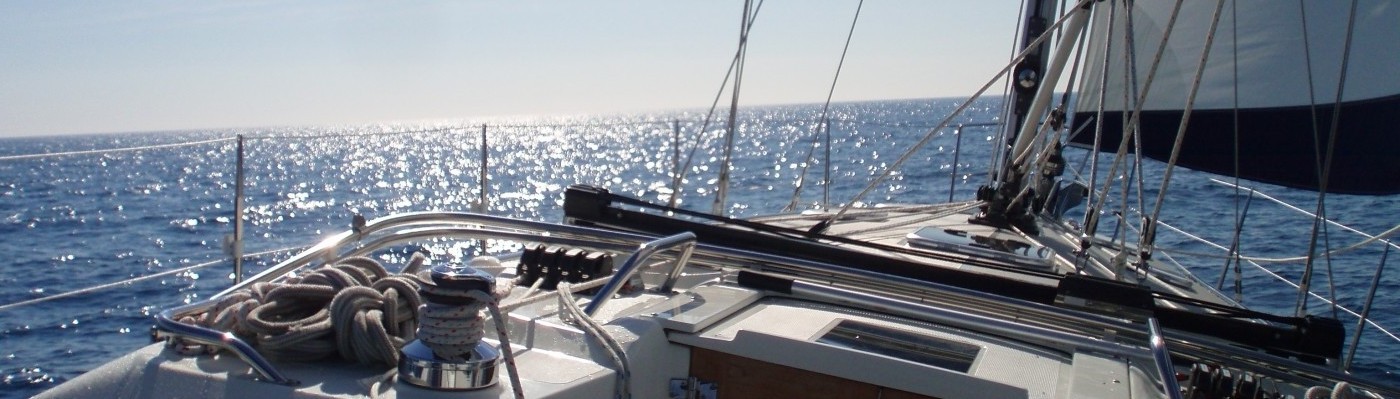
Our first major project is under way! We had a very big day today. Our goal was to have the existing bottom coat of Interlux VC-17 completely stripped down to the epoxy primer aka “barrier coat.” And, I’m happy to say that we have accomplished our goal 🙂 We need to strip off the old anti-fouling (VC-17) to apply a paint that will tolerate salt water and keep all the critters and plant life that likes to grow on boats off of ours.
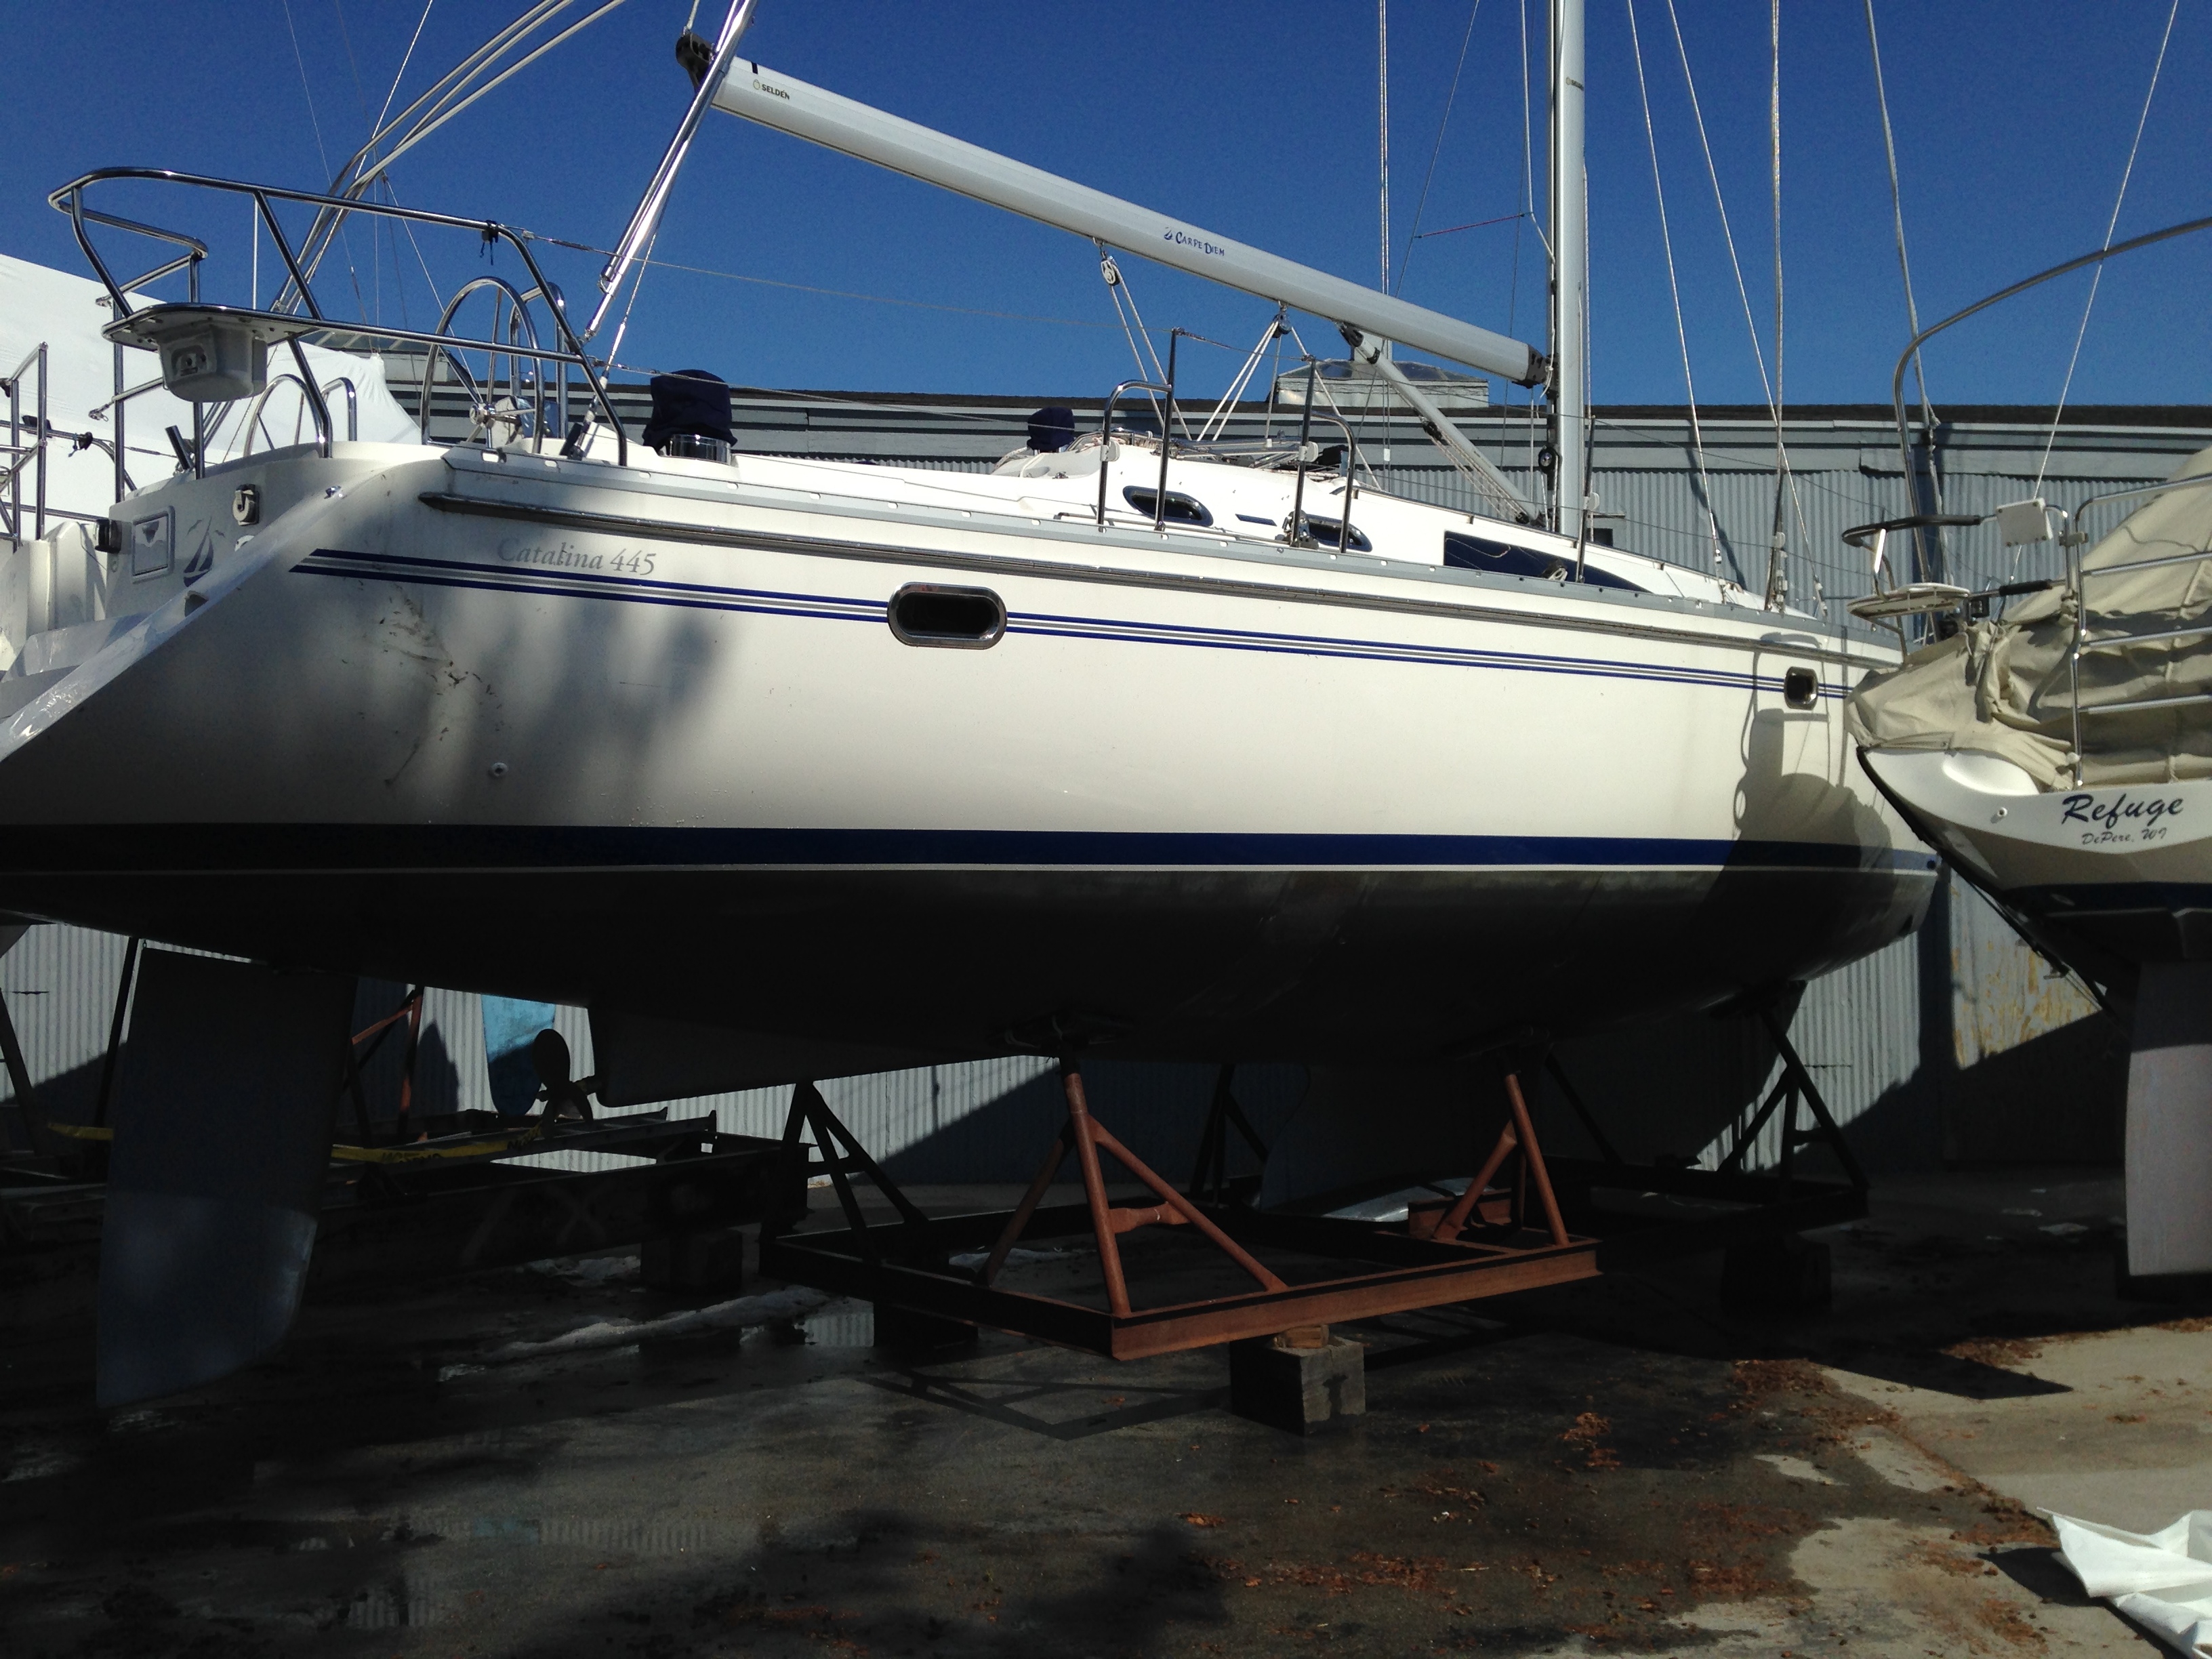
We did quite a lot of research and spoke with a number of paint reps/ marina techs prior to starting this project and determined that we needed to strip off all the VC-17 before re-applying another 2-3 layers of epoxy primer “barrier coat” plus an additional 2 coats of anti-fouling. We decided to attack the hull with a myriad of sandpaper grits and sanding devices, as we received a number of different opinions on what would work best with our paper thin layer of VC-17. After trying everything from 60-320 grit, we centered on 80 grit with an air-powered orbital sander. Anything finer that 80 would have taken us forever and anything more aggressive than that was stripping right down to the gel coat (NOT DESIRABLE!).
Sanding took us about 9 hours a person to strip it down to the barrier coat. It was back-breaking work! After a combined effort of 18 hours, my dad and I were exhausted and decided to retire early and get at the remainder of the touch-up sanding work the next morning (a small amount of VC was still present even after our best efforts). At the end of the day, we thought to ourselves that there had to be a better way to do this. Lo, and behold, as I was laying in my berth getting ready to fall asleep, my dad called over to me to check out a blog he had just uncovered. Even after all of our research and questions, no one could tell us any other method of accomplishing our goal of a salt water tolerant anti-fouling paint that could be applied directly over our existing paint other than sanding it all off and starting fresh.
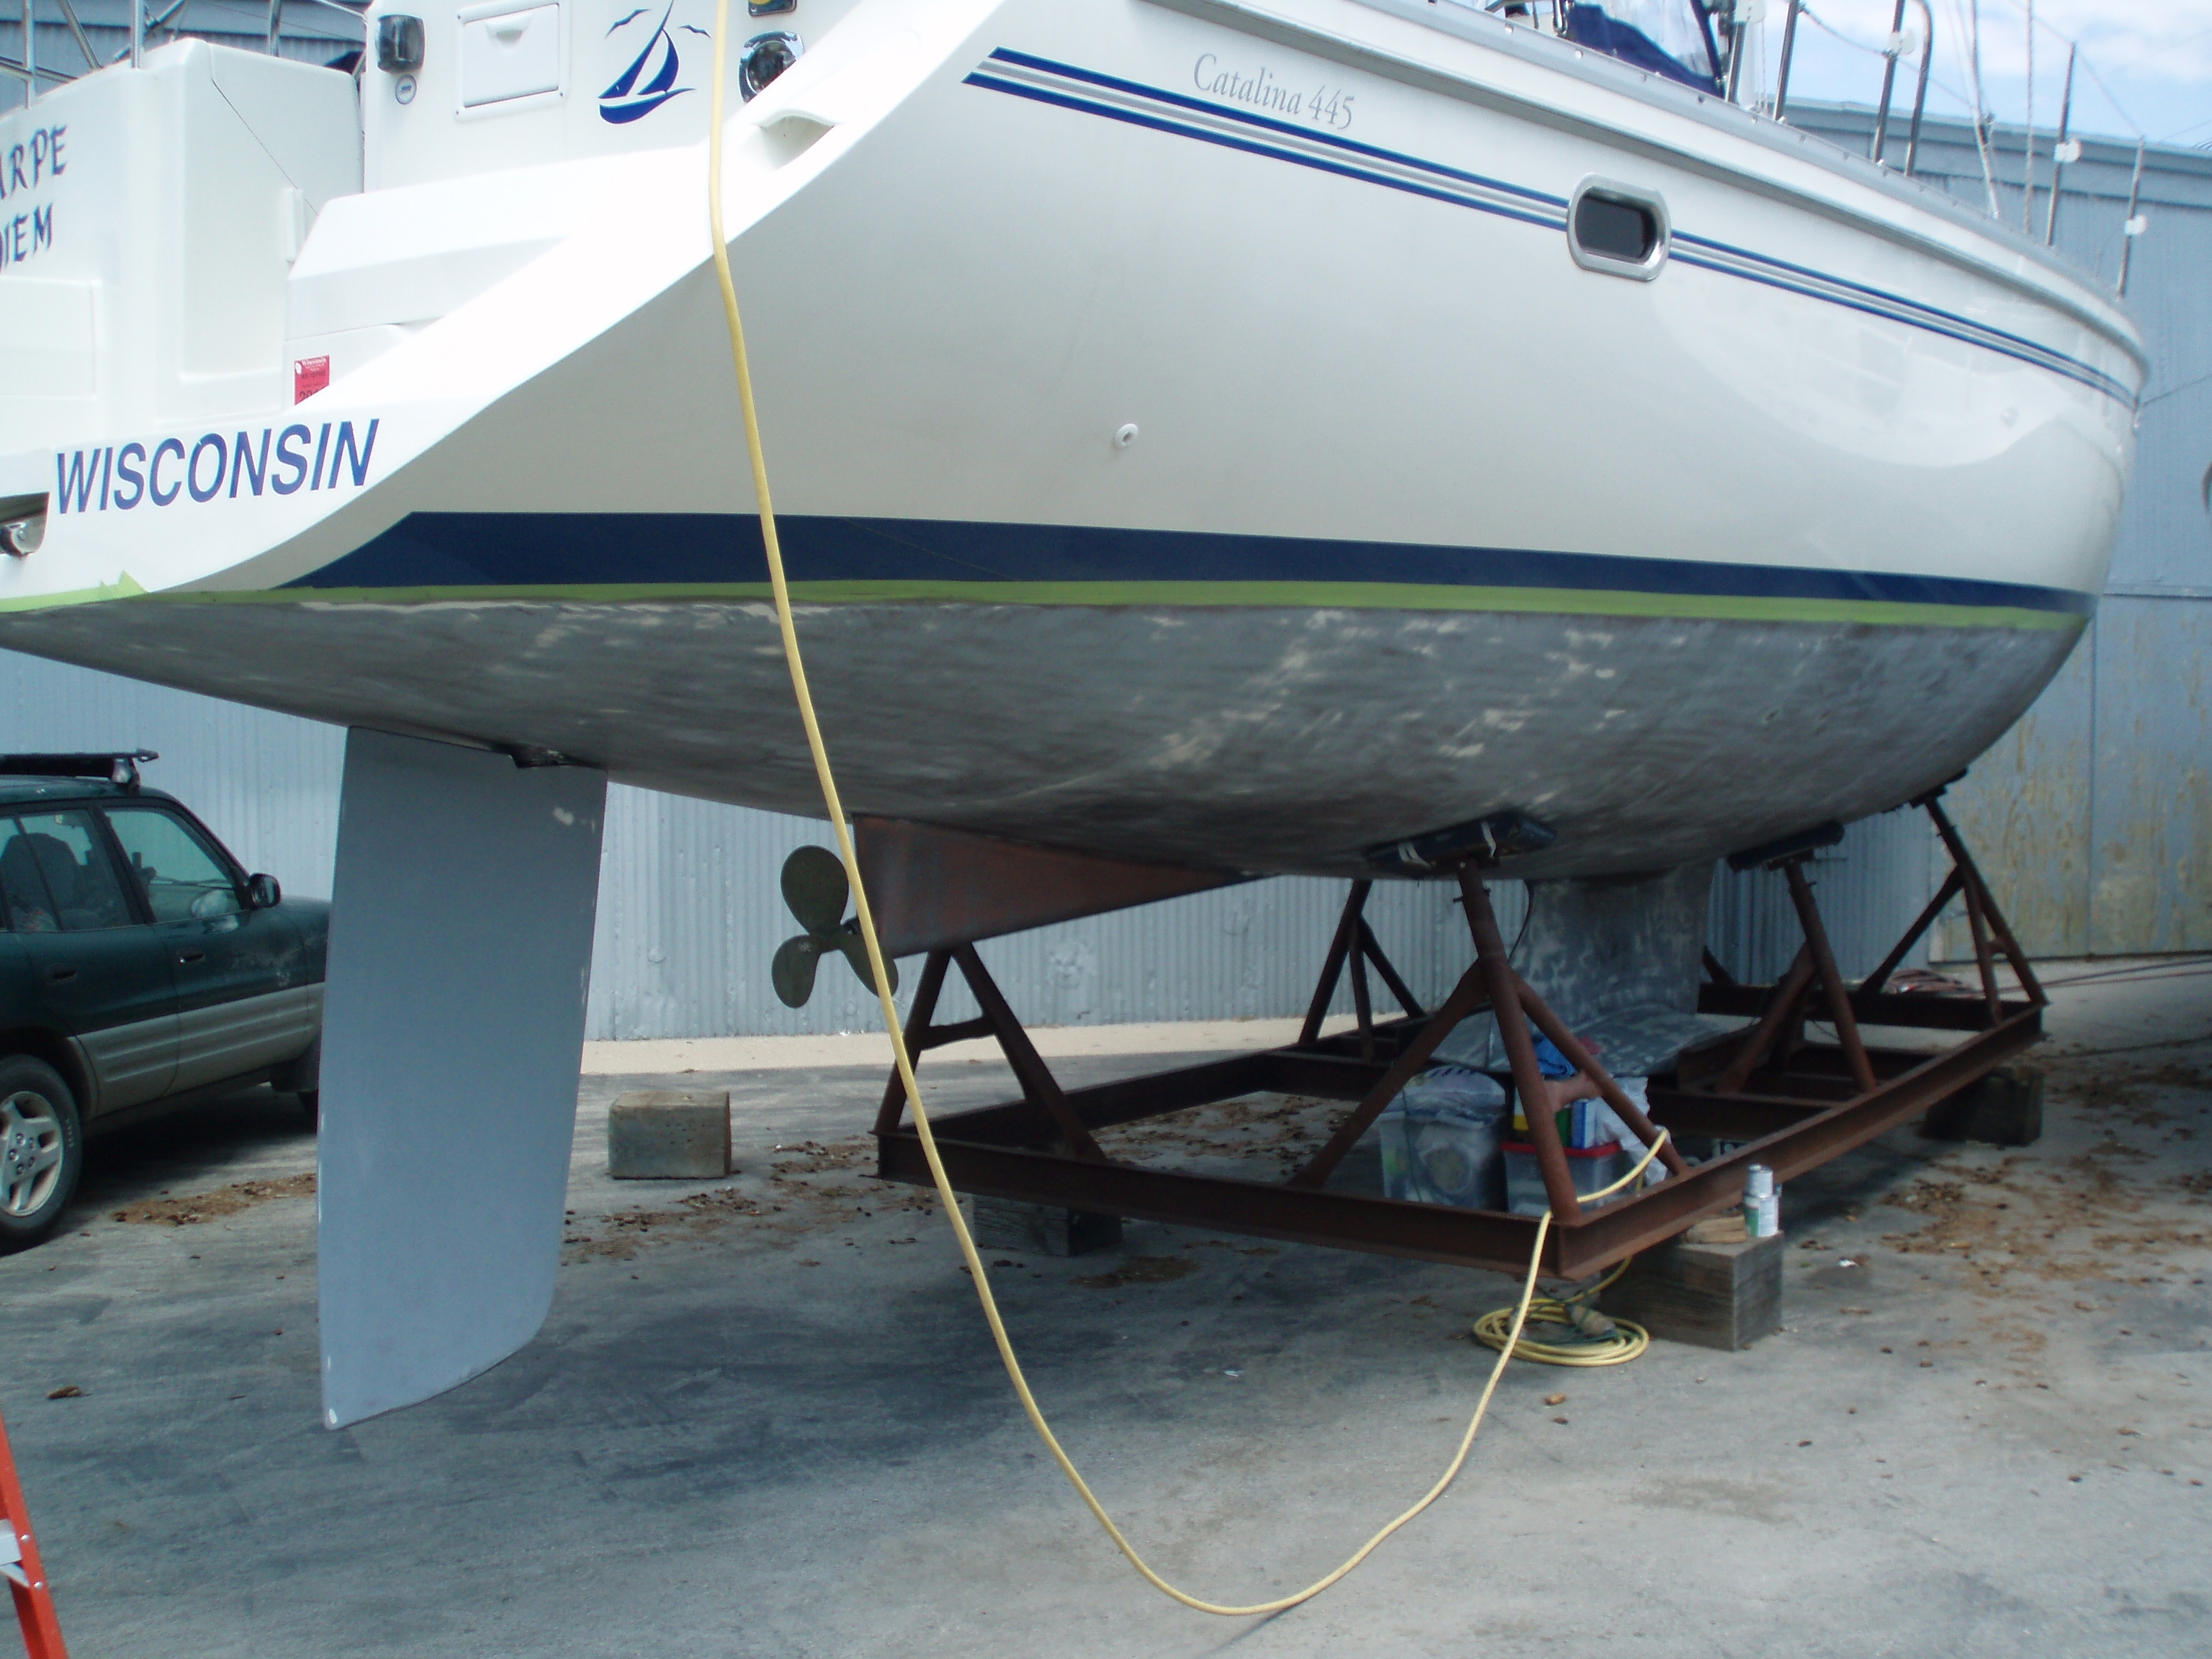
Enter Pettit Hydrocoat / Hydrocoat Eco/ Hydrocoat SR marine paint. After thoroughly reading the blog that my Dad had found, which outlined a similar sized boat with the same dilemma, I set out to get in contact with our local Pettit paint rep. I scoured the internet looking for a name. I couldn’t find anyone on LinkedIn, Google, or Facebook for the Midwest (although he exists!). I eventually stumbled upon Darron Zimmer, Sales Manager for the East Coast on LinkedIn. I sent Darron an email on LinkedIn and found him on Facebook and sent another message at a little after midnight on Saturday desperately looking for information and asking that he call me on Sunday if he was able. I was not anticipating a response! But, at around 9am CST I received a call from an unknown area code and it turned out to be Darron. I yelled to my dad with excitement!! We could finally have an answer to our problem that would avoid another day of labor-intensive sanding and 2-3 applications of expensive/unnecessary epoxy barrier coat.
After a lengthy (and greatly appreciated) conversation with Darron over the phone, we decided to go with Hydrocoat Eco anti-fouling Paint. Darron assured us that the Hydrocoat line of paints could be applied directly over VC-17 with a little sanding and surface prep. His company’s website also has a neat little compatibility chart that outlines what can go over what in terms of paint/surfaces and how to prep your surface for paint (you can find the chart here: Pettit Compatibility Chart).
A BIG SHOUT OUT & THANK YOU TO DARRON ZIMMER OF PETTIT MARINE PAINT!!